Gradle is one of several Java development tools featured in Stackify’s Comprehensive Java Developer’s Guide, but it’s not the only build automation tool to consider. Maven is an older and commonly used alternative, but which build system is best for your project? With other tools, such as Spring, allowing developers to choose between the two systems, coupled with an increasing number of integrations for both, the decision is largely up to you.
The size of your project, your need for customization, and a few other variables can help you choose. Let’s take a look.
Gradle is a build automation system that is fully open source and uses the concepts you see on Apache Maven and Apache Ant. It uses domain-specific language based on the programming language Groovy, differentiating it from Apache Maven, which uses XML for its project configuration. It also determines the order of tasks run by using a directed acyclic graph.
Developers first introduced Gradle in 2007, and by 2013, Google had adopted it as the build system for Android projects. Designed to support substantial multi-project builds, Gradle also enables incremental additions to your build, identifying updated parts of your project. This feature prevents the re-execution of tasks dependent on updated parts. As of now, the most recent stable release, version 3.4, launched in February 2017, facilitates development and deployment using Java, Scala, and Groovy, with the promise of incorporating other project workflows and languages in the future.
Developers use Maven for automating project builds using Java. Maven assists in outlining how to build a particular software and its different dependencies. It leverages an XML file to describe the project under construction, the software’s dependencies on third-party modules and parts, the build order, and the necessary plugins. Maven has pre-defined targets for tasks such as packaging and compiling.
Maven will download libraries and plugins from the different repositories and then puts them all in a cache on your local machine. While predominantly used for Java projects, you can use it for Scala, Ruby, and C#, as well as a host of other languages.
Gradle and Maven fundamentally differ in their approach to builds. Gradle operates based on a graph of task dependencies, with tasks performing the work. Conversely, Maven adopts a fixed, linear model of phases, assigning goals to project phases. These goals, like Gradle’s tasks, are the “workhorses.”
Both Gradle and Maven support parallel execution of multi-module builds. Gradle, however, stands out for its use of incremental builds. It achieves this by checking the status of tasks and skipping any that aren’t updated, resulting in shorter build times. Gradle enhances performance with the following features:
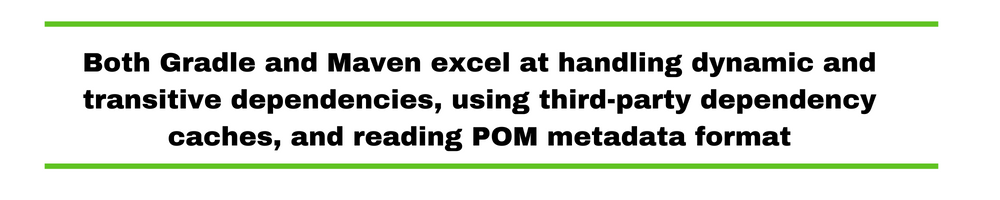
Both Gradle and Maven excel at handling dynamic and transitive dependencies, using third-party dependency caches, and reading POM metadata format. They can also declare library versions through central versioning definition and enforce it. Each can download transitive dependencies from their artifact repositories, Maven from Maven Central, and Gradle from JCenter. Both support the definition of a private company repository. If a project requires multiple dependencies, Maven can download these concurrently.
Despite these similarities, Gradle outperforms Maven in areas like API and implementation dependencies, and concurrent safe caches. Gradle preserves repository metadata with cached dependencies, preventing overwrites when multiple projects use the same cache. It also features a checksum-based cache and synchronizes the cache with the repository. Moreover, Gradle supports IVY Metadata, allowing custom rules for dynamic dependencies and resolving version conflicts, unlike Maven.
Exclusive Gradle features include:
Gradle simplifies working with composite builds and supports both ad-hoc and permanent composite builds. It allows for the combination of different builds and importing a composite build into Eclipse or IntelliJ IDEA.
Both Gradle and Maven offer task groups and descriptions and can build only the specified project and its dependencies. However, Gradle uses a fully configurable DAG, while Maven permits the attachment of a goal only to one other goal. Gradle also supports task exclusions, transitive exclusions, task dependency inference, advanced task ordering, and finalizers.
Gradle shines in administering build infrastructure through its use of wrappers that support auto-provisioning, unlike Maven, which requires an extension for self-provisioning builds. Gradle can configure version-based build environments automatically and allows for custom distributions.
In a comparison of Ant, Gradle, and Maven, Naresh Joshi compares the code required to create a build script that compiles, performs static analysis, runs unit tests, and creates JAR files at Programming Mitra.
Here’s the code required to achieve this with Maven:
<project xmlns="http://maven.apache.org/POM/4.0.0"
xmlns:xsi="http://www.w3.org/2001/XMLSchema-instance"
xsi:schemaLocation="http://maven.apache.org/POM/4.0.0 http://maven.apache.org/maven-v4_0_0.xsd">

<modelVersion>4.0.0</modelVersion>
<groupId>com.programming.mitra</groupId>
<artifactId>java-build-tools</artifactId>
<packaging>jar</packaging>
<version>1.0</version>

<dependencies>
<dependency>
<groupId>junit</groupId>
<artifactId>junit</artifactId>
<version>4.11</version>
</dependency>
</dependencies>

<build>
<plugins>
<plugin>
<groupId>org.apache.maven.plugins</groupId>
<artifactId>maven-compiler-plugin</artifactId>
<version>2.3.2</version>
</plugin>
</plugins>
</build>
</project>
To run the Maven goal that creates the JAR file, you would execute the following:
mvn package
Note that by using this code, you’re setting the parameters but not specifying the tasks that must be carried out. You can add plugins (such as Maven CheckStyle, FindBugs, and PMD) to execute the static analysis as a single target together with unit tests, but you’ll want to specify the path to the customs check style configuration to ensure that it fails on error, using code such as:
<plugin>
<groupId>org.apache.maven.plugins</groupId>
<artifactId>maven-checkstyle-plugin</artifactId>
<version>2.12.1</version>
<executions>
<execution>
<configuration>
<configLocation>config/checkstyle/checkstyle.xml</configLocation>
<consoleOutput>true</consoleOutput>
<failsOnError>true</failsOnError>
</configuration>
<goals>
<goal>check</goal>
</goals>
</execution>
</executions>
</plugin>
<plugin>
<groupId>org.codehaus.mojo</groupId>
<artifactId>findbugs-maven-plugin</artifactId>
<version>2.5.4</version>
<executions>
<execution>
<goals>
<goal>check</goal>
</goals>
</execution>
</executions>
</plugin>
<plugin>
<groupId>org.apache.maven.plugins</groupId>
<artifactId>maven-pmd-plugin</artifactId>
<version>3.1</version>
<executions>
<execution>
<goals>
<goal>check</goal>
</goals>
</execution>
</executions>
</plugin>
To run the goal to achieve this, execute the following:
mvn verify
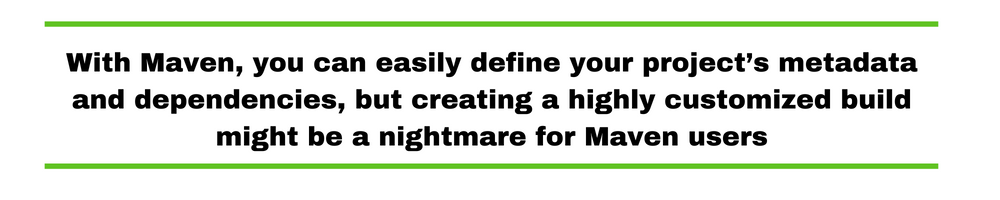
It requires quite a bit of XML code to achieve some basic and common tasks, and for this reason, projects in Maven with a large number of tasks and dependencies can result in pom.xml files that consist of hundreds to thousands of lines of code.
To compare, here’s an example of build.gradle code that achieves a similar outcome:
apply plugin:'java'
apply plugin:'checkstyle'
apply plugin:'findbugs'
apply plugin:'pmd'

version ='1.0'

repositories {
    mavenCentral()
}

dependencies {
    testCompile group:'junit', name:'junit', version:'4.11'
}
This code is shorter and also introduces some useful tasks that aren’t covered with the Maven code above. Execute the following for a list of tasks that Gradle can run with the current configuration:
gradle tasks --all
Overall, both tools have their respective strengths and weaknesses.
In the end, what you choose will depend primarily on what you need. Gradle is more powerful. However, there are times when you really do not need most of the features and functionalities it offers. Maven might be best for small projects, while Gradle is best for bigger projects.
For further reading and more information, including helpful tutorials, visit the following resources:
Stackify's APM tools are used by thousands of .NET, Java, PHP, Node.js, Python, & Ruby developers all over the world.
Explore Retrace's product features to learn more.


