
In this post, you are going to learn how to install Ruby on Ubuntu. Specifically, we’re going to install it on the current LTS (Long-Term Support) version of Ubuntu, 18.04.2.
If you’re totally new to this, don’t worry! I’ve written this guide with the assumption that you have no prior experience installing packages on Ubuntu. I will attempt to explain concepts that I believe might be confusing. However, if you’re an Ubuntu veteran or aren’t interested in a detailed explanation of what we’re doing, there’s a short and sweet TLDR section for you to install the latest Ruby package using either of the package managers we’ll look at.
Speaking of package managers, there are several ways to install Ruby. We can install and manage our installations with package managers or by using tools such as rbenv or rvm. This guide will focus on the use of package managers, specifically APT and Snap. Let’s learn a little background information and get started!
Ruby is an open-source programming language with a strong developer focus. Created in 1996 by Yukihiro Matsumoto, Ruby became really popular in the late 2000s with the introduction of the Ruby on Rails web framework. While Ruby is used quite frequently for web development, it’s also popular as a scripting language.
Ruby is known for being easy to learn and fun to use. So let’s find out how easy it is to get up and running!
Here are the commands to install with APT:
sudo apt update
sudo apt install ruby
Here is the command to install with Snap:
sudo snap install ruby –classic
Hold on! What’s a package manager? A package manager is an application whose job is to manage software on your computer. In this case, managing means installing, updating, and removing software as needed. Package managers will install software in a consistent manner and keep your computer tidy. They save you the trouble of needing to maintain and update each piece of software on your machine individually.

APT and Snap are package managers. APT refers to a suite of tools is a suite of tools for managing packages. When I mention APT in this guide, I’m referring specifically to the apt command line tool. Similarly, Snap is also a command line tool within the Snapcraft toolset. Snapcraft as a whole can be thought of as an ecosystem for package development and distribution. The Snapcraft ecosystem integrates with the Ubuntu Software Store, but if you’re installing a tool like Ruby, you should familiarize yourself with running commands in a shell.
APT is the built-in package manager for Ubuntu. If you’ve used Ubuntu for a while, you might be asking, “Why not apt-get?” The apt-get tool still exists. However, since Ubuntu 16.04, a more user-friendly command, apt, has been included with the base installation. The apt command wraps some of the most commonly used functionality from the apt-get and apt-cache commands into a single command. The apt command makes the process of searching and installing packages easier for users who don’t need all the advanced functionality or fine-grain control that apt-getand apt-cache provide.
Snap is a relatively new package manager developed by Canonical, the company behind Ubuntu. Snap uses its own package format and provides a more universal way to develop and distribute packages for Linux systems.
We won’t go too in depth here, but the basic premise is that package management has been a sticky problem for Linux systems. There are many different Linux distros, which use different types of packages. Also, packages can be tied to specific releases. This means that for a developer to release one package, that developer will have to make several versions of that package to ensure that it works as expected across all the different distros and versions. For users of these systems, this means that updates to the software we use can be slow.
The Snapcraft ecosystem is attempting to alleviate this package versioning and distribution problem. By providing distro and version agnostic packages, called snaps, it’s attempting to increase the speed at which developers can release changes and features to users!
APT is traditionally the means to install software on your Ubuntu installation. It will work perfectly fine in this case. However, you’ll notice later in this guide that when we install Ruby from APT, the version is going to be a bit older (2.5.1p57). At the time of this writing, the current stable releases of Ruby are 2.6.3 and 2.5.5. However, if we install with Snap, we’ll get the latest stable release, 2.6.3. The Snap CLI came installed on Ubuntu 18.04.2, so you should have no problem if you’re using that or even a version as old as 16.04.
If you want the latest version of a package, and you are on Ubuntu 16.04 or later, use Snap. If you’re working on an older version of Ubuntu, or aren’t concerned with having the latest version of Ruby, you can use APT.
Installation with APT is very straightforward. We’re going to execute a couple of commands, and we’ll be ready to go. This process should be the same regardless of whether you’re working on a fresh install or an existing system. We’re going to use the Terminal application to update the repositories APT knows about in order to make sure it has the latest packages available. After that, we’re going to install Ruby.
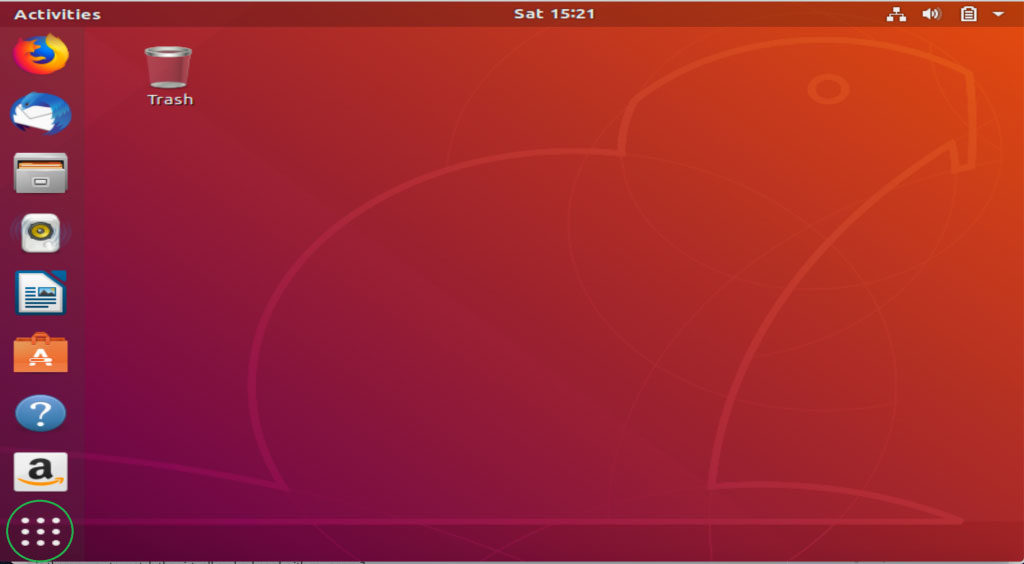
First, we need to open up Terminal. To do that, click on the “Show Applications” button on your desktop. If you don’t know what that is, it’s a button that looks like a nine-dot grid.
Type in “terminal” and select the application. The application icon should look something like this:

Terminal is a program that gives us access to the shell. The shell is a CLI that gives us a way to interact with the operating system via commands. When the shell opens, you will be presented with a prompt. My prompt looks like this:
chris@chris-VirtualBox:~$
The first section, chris@chris-VirtualBox, refers to the logged in user. The tilde character following the colon indicates what directory we’re in. By default, the shell will open in your home directory, and the tilde is an alias for that directory. The home directory is a special directory on Unix-like systems that belongs to you, the logged-in user. The dollar sign indicates where the prompt ends and your input begins.
Before we move to the next step, let’s make sure that Ruby isn’t already installed. We can run this command:
which ruby
If Ruby is installed, you will receive some output after the prompt that tells you where Ruby is installed on your machine. If it’s not installed, you’ll be presented with another prompt. Ruby doesn’t come installed on Ubuntu, so unless you or someone else has installed it, you should receive an empty prompt like this:
which ruby
chris@chris-VirtualBox:~$
Now that we’ve verified that Ruby is not installed, let’s do our APT update.
Before we install Ruby, we want to make sure that APT has the latest package lists. APT will come installed with a list of packages to download when installing various pieces of software. When we update it, it checks for the latest lists that determine if newer versions are available, or if existing packages have additional dependent software that we need to install.
The command is pretty straightforward.
sudo apt update
This command will prompt you for your password if you have administrative access, which you should if you’re working on a system of your own. Otherwise you’ll need to contact whoever administers the system you’re working on.
The actual command we’re running is apt update, but we’re prefixing it with a special command called sudo. A simple explanation for our purposes is that the sudo command takes another command and executes it with elevated permissions. If you try to run apt update on its own without the sudo command, you’ll get a permission denied error.
Now that we’ve updated APT, let’s go ahead and install Ruby!
We can find the source of the package for Ruby with the apt list command. Here’s the command and the output for me:
apt list ruby
Listing... Done
ruby/bionic 1:2.5.1 amd64
We’ll see that there’s a Ruby package available for bionic. Bionic refers to “Bionic Beaver,” which is the codename for the Ubuntu 18.04.2 release. Let’s install this package. It’s as easy as:
sudo apt install ruby
You’ll receive some output that looks like this:
Reading package lists... Done
Building dependency tree
Reading state information... Done
The following additional packages will be installed:
fonts-lato javascript-common libjs-jquery libruby2.5 rake ruby-did-you-mean
ruby-minitest ruby-net-telnet ruby-power-assert ruby-test-unit ruby2.5
rubygems-integration
Suggested packages:
apache2 | lighttpd | httpd ri ruby-dev bundler
The following NEW packages will be installed:
fonts-lato javascript-common libjs-jquery libruby2.5 rake ruby
ruby-did-you-mean ruby-minitest ruby-net-telnet ruby-power-assert
ruby-test-unit ruby2.5 rubygems-integration
0 upgraded, 13 newly installed, 0 to remove and 312 not upgraded.
Need to get 6,156 kB of archives.
After this operation, 27.8 MB of additional disk space will be used.
Do you want to continue? [Y/n]
There are a few things happening here. APT is telling us that additional packages will be installed. These are the tools that the maintainers of the Ruby package think we should have with the regular Ruby installation. It will install packages like the build tool, Rake, the Ruby package manager, Gem, and some testing tools.
After sections detailing what will be installed and other suggested packages, we can see a summary telling us that we’ll be installing 13 new packages and that 27.8 MB of disk space will be used.
Now that APT has listed the effects of the installation, we’re given a yes or no option to proceed. When receiving a prompt in the shell, the convention is that the uppercase letter is the default. So with [Y/n], we can either type Y or just hit the Enter key to finish the installation.
This step is mostly for our own edification. We can verify the installation a couple of ways. We can run the whichcommand again, and also use the ruby -v command to check the installed Ruby version. Here’s what it looks like on my machine:
which ruby
/usr/bin/ruby

ruby -v
ruby 2.5.1p57 (2018-03-29 revision 63029) [x86_64-linux-gnu]
We can see that our Ruby installation lives in the /usr/bin directory and that the version is 2.5.1. Very cool! We have successfully installed Ruby with APT.
If you’d rather use Snap but have been following to this point, you can remove your Ruby installation just as easily by doing this:
sudo apt remove ruby
Remember those extra packages that were installed along with Ruby? When we remove Ruby this way, we actually haven’t removed those packages. Dependencies such as this are not marked as auto-removable when their parent dependency is removed. We can remove them by running this command:
sudo apt autoremove
Our machine is now back to where it was when we started. Let’s go ahead and install with Snap.
Installing with Snap is pretty easy! We’re going to open the terminal and verify that the Snap CLI tool is installed. Once we verify that, we’re going to simply install Ruby with Snap.
This is actually exactly the same as the first step for the APT installation. If you don’t know how to open the Terminal app, please go to step 1 in the APT section above. That step will also show you how to determine if you already have Ruby installed.
In order to verify that Snap is installed, we can use the which command to see where it lives and the snap –versioncommand to see what version we are running. The which command is sufficient on its own, but I have a habit of checking the version on command line tools. It’s a quick way to verify the tool is there and doesn’t take too long.
which snap
/usr/bin/snap

snap --version
snap 2.39
snapd 2.39
series 16
ubuntu 18.04
kernel 4.18.0-15-generic
If this didn’t work and Snap is not installed, you can follow the thorough installation instructions that Canonical provides.
If you followed the APT installation instructions, you might be wondering why we don’t need to update the package list for Snap. The docs for Snap let you know that packages are refreshed by the background Snap daemon process four times a day. However, it’s possible to retrieve the latest packages on demand if you so choose by running sudo snap refresh.
It’s pretty easy to install Ruby with Snap. Here’s the command:
sudo snap install ruby --classic
There are two things to note about this command. This command, like the apt install or apt update commands, requires elevated privileges. As such, we’ll have to use sudo and give our credentials.
The second interesting thing about this install command is the –classic argument. This is a special flag passed to snaps that require access to system resources. Classic is a type of confinement. Snaps are installed in an area separate from the normal executables on the system, and they have their permissions and access confined by Snap. The team behind Snap audits any program that requires traditional access to the operating system, like our Ruby installation. So, we need to provide the –classic argument.
We have installed Ruby with Snap. Let’s go ahead and verify the installation.
This is very similar to verifying the installation we did with APT. The differences we’ll note are that Ruby is installed in a different directory and the version is different (at least at the time of this writing).
If you ran this installation process immediately after removing the Ruby we installed with APT, you will need to close and reopen Terminal to run this step!
Again, we’re going to use which to see the install location and check the version with ruby -v. Here’s the output on my machine:
which ruby
/snap/bin/ruby

ruby -v
ruby 2.6.3p62 (2019-04-16 revision 67580) [x86_64-linux]
We can see that our Ruby installation lives in the /snap/usr/bin directory and that the version is 2.6.3. Installing with Snap was pretty snappy!
We’ve gone over how to install Ruby on Ubuntu with both the APT and Snap package managers. We’ve also discussed some of the basics around package management and the difference between APT and Snap.
If you’re just starting out, it might be a good idea to look at some learning resources for Ruby that I linked in the introduction.
If you’re planning on using Ruby to write a cool business app, take a look at Retrace. Retrace can do all sorts of things for you, including helping you understand your application’s performance.

Stackify's APM tools are used by thousands of .NET, Java, PHP, Node.js, Python, & Ruby developers all over the world.
Explore Retrace's product features to learn more.


