
Ruby is a well-established and well-regarded programming language. Once upon a time, installing Ruby on Windows came with problems, but things have come a long way. Today, there’s no reason someone couldn’t write Ruby code on any platform.
First released in the mid-1990s, Ruby’s popularity soared with the release of Ruby on Rails in 2005. Ruby is primarily an object-oriented programming language (OOP), but it offers powerful aspects of the functional programming paradigm as well. It’s less verbose than many other languages, offering a concise and straightforward syntax. This simplicity makes it a good language to start with. The popular Ruby on Rails web framework also powers many large websites, meaning Ruby is here to stay.
Let’s take a look at how to set up a functioning Ruby environment on your Windows computer.
Ruby’s difficulties on Windows stem from the fact that it’s very different, under the covers, from both Linux and macOS. Those two operating systems have similar “toolchains” because both are based on Unix. This means that they can use the same compiler, shared library system, and other tools to build the Ruby interpreter and Ruby libraries, which are called “RubyGems.”
Ruby is an open-source language written by volunteers. It was developed on Unix-based computers, so making the language work there came first. There’s always been an effort to make it work on Windows as well, but the Unix-like environments got priority.
For many years, trying to develop Ruby code on a Windows computer meant dealing with issues that someone using a Mac or Linux computer wouldn’t face. To a certain extent, that’s still true. When seeking help for a problem you run into, you’ll likely find fewer search results for Windows. Plus, you may find that less common libraries don’t even offer a Windows version.
And if you’re planning on deploying your code, you should think about what that platform will be. For example, if you want to write a Ruby on Rails web application, you’ll likely be deploying it onto a Linux web server. It’s always best to keep the development environment as close as possible to the production environment so that you don’t get any surprises when your code goes live.
One of the most surprising and pleasant developments in the software world in recent years has been Microsoft warming up to open source. The tech giant now has over 2,400 repositories on GitHub, and the description on their GitHub profile says “open-source, from Microsoft with love.” Their open-source projects include the popular Visual Studio Code programming text editor. They’ve also embraced open source by bringing Linux to Windows!
That’s right, Windows 10 allows you to install a Linux “subsystem” on the same computer. This means you can install and run Linux applications. This also means that you can use Linux package managers to install the traditional Ruby environment. It’s called the Windows Subsystem for Linux, and we’ll cover how to get a working Ruby installation with the approach below.
However, if you have a computer running an older version of Windows, that option isn’t available to you. But fear not. There’s still active development on Ruby for Windows, including right up to the most recent version of Ruby. This project is called RubyInstaller, and it works its magic by using the MSYS2 system for providing Unix-like libraries on Windows as well as MinGW (Minimal Gnu for Windows), which is a large library of Unix-like packages that work on Windows.
But you don’t need to worry about those details. RubyInstaller provides you with a straightforward, mostly GUI-based experience to get Ruby up and running on your older Windows machine. Let’s look at this option first.
To use RubyInstaller, you need to first download it from their downloads page. Notice that the list of options has “with Devkit” and “without Devkit” sections. The Devkit versions install the MSYS2 system, which will be required if you need to install RubyGems that require compilation. If you’re just going to play around with plain old Ruby, you might be able to get away with the non-Devkit version. But why limit yourself? If you want to work on a Ruby on Rails app, you’ll definitely need to compile gems, so you need the Devkit.
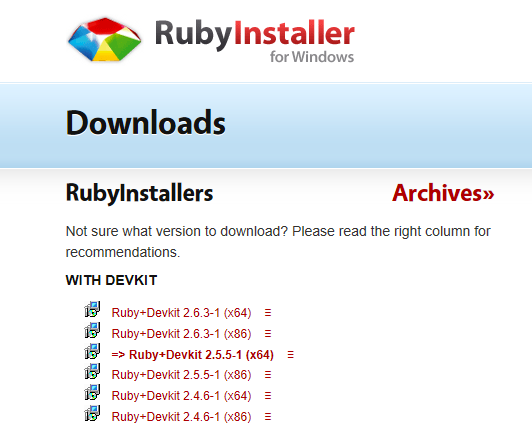
Also note that there are various Ruby versions available, and there are both x86 and x64 packages. Currently, there’s an arrow pointing at the 2.5.5-1 (x64) package. That’s because it’s still the preferred Ruby version for most people. Ruby 2.6.3 is still fairly new, so it won’t have as many gems available. Also, as it says on the page, “the 32 bit (x86) version is recommended only if custom 32-bit native DLLs or COM objects have to be used.” You should stick with x64.
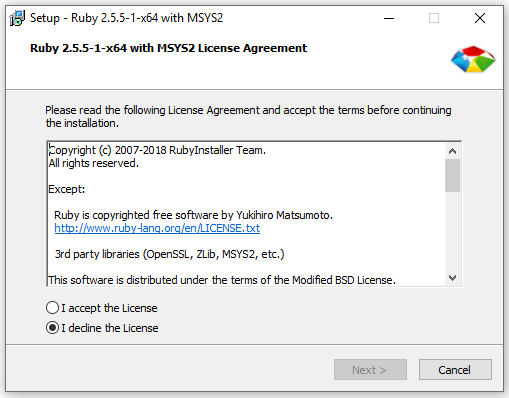
Download that and run it to get started. You’ll first need to accept the license agreement.
On the next screen, be sure to check the MSYS2 development toolchain option:
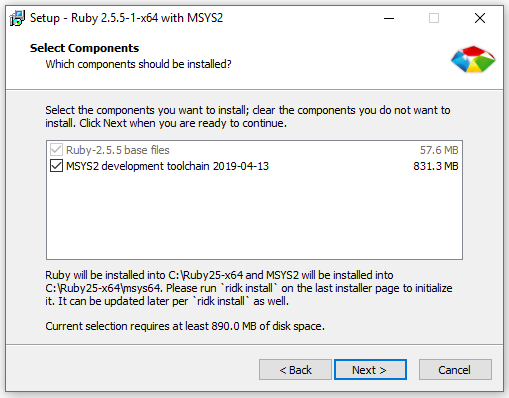
Then click “Next” and grab a cold one. It takes a few minutes to install everything.
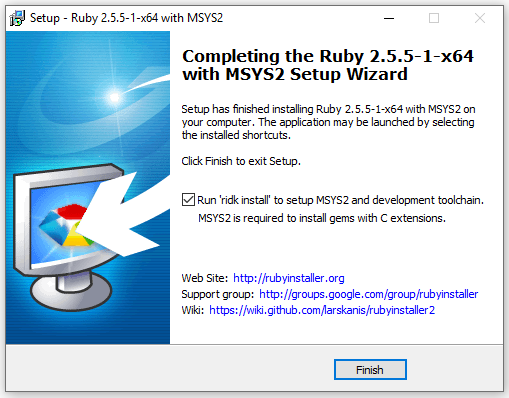
Once you’ve done that, another important checkbox appears on the final screen of the installer: “Run ‘ridk install’ to set up MSYS2.” The GUI installer won’t do that part for you, so use this checkbox to kick that off next:
Installing the development toolchain is a command-line process, so a terminal window will open to complete this part:
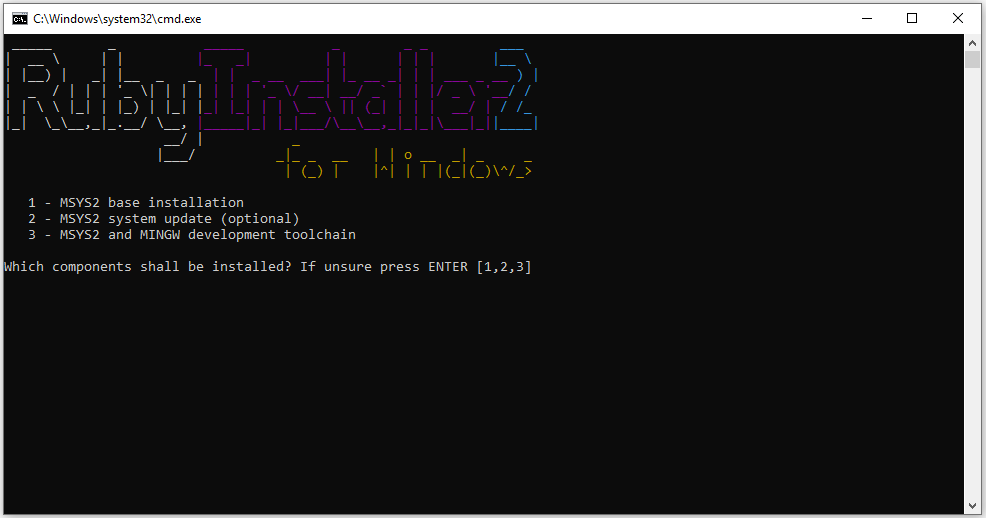
This “ridk install” command asks which components you want to install. It’s fine to just hit “Enter” to accept the default. This will install the base MSYS2 system, check for updates to it, and then install the development toolchain.
Once that’s rolling, you’ll see a lot of output streaming by. It takes at least as long as installing Ruby did. When you’ve done that, you should see the message “install MSYS2 and MinGW development toolchain succeeded.” Oddly enough, that leaves you at the same install prompt. Just hit “Enter” again to get out of that. The terminal window will close.
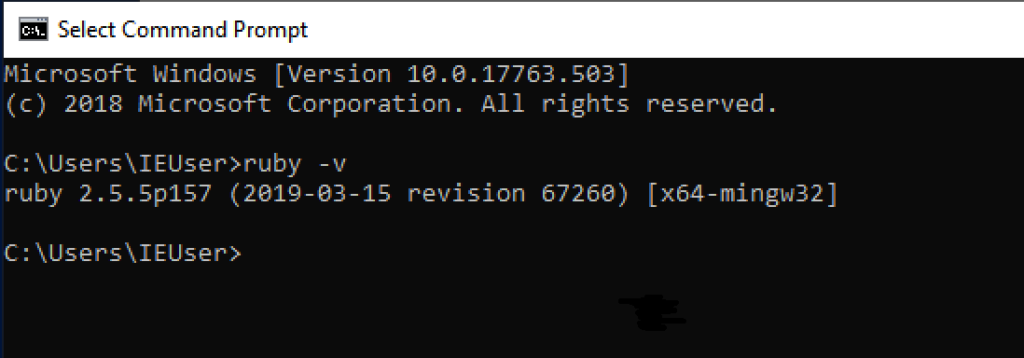
In order to check out your fresh Ruby install, you need to open a terminal window again. You can do so by opening the Windows menu and typing “cmd” in the search box. At the command prompt, type “ruby -v” and hit “Enter.” You should see something like this:
And running the command “gem list” will show you what RubyGems came with your fresh install:

You can also run “irb,” the interactive Ruby shell:
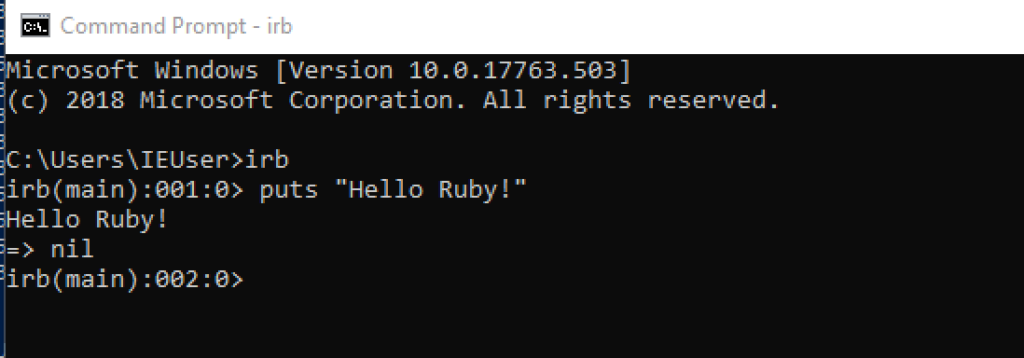
Try out some Ruby!
You can then go on to install Ruby on Rails, which is a RubyGem. However, note that Rails is generally used to develop database-backed web applications. That means that it needs a database server to talk to. So when you try to generate a new Rails application without any options specified, you’ll get an error because, by default, Rails tries to use the SQLite database engine. The Rails team chose SQLite as the default because it’s often already installed on Mac or Linux and because it doesn’t need a database server process. It stores its data in a file on disk.
Most serious applications use a more robust database server, like MySQL or PostgreSQL. So you may want to install one of those on your Windows machine and then generate your Rails app with the option to specify that database driver.
Try Stackify’s free code profiler, Prefix, to write better code on your workstation. Prefix works with .NET, Java, PHP, Node.js, Ruby, and Python.
As mentioned previously, with Windows 10, Microsoft started offering a standard way to run a Linux command line on Windows computers. This is called the Windows Subsystem for Linux (WSL), and it’s fairly easy to get started with. It is also a good way to get working with Ruby on Windows. You even get your choice of Linux distro. If you’re not too familiar with Linux, a “distro” is the distribution of Linux. Common distros include Red Hat, CentOS, Debian, Ubuntu, etc. For this tutorial, we’re going to use Ubuntu.
To use the WSL, you first need to enable it. There are tutorials online that tell you how to do this by running a command in an admin console (e.g., “Enable-WindowsOptionalFeature -Online -FeatureName Microsoft-Windows-Subsystem-Linux”) but you don’t have to bother with that. It’s a standard Windows feature now, so you can turn it on in the Windows control panel.
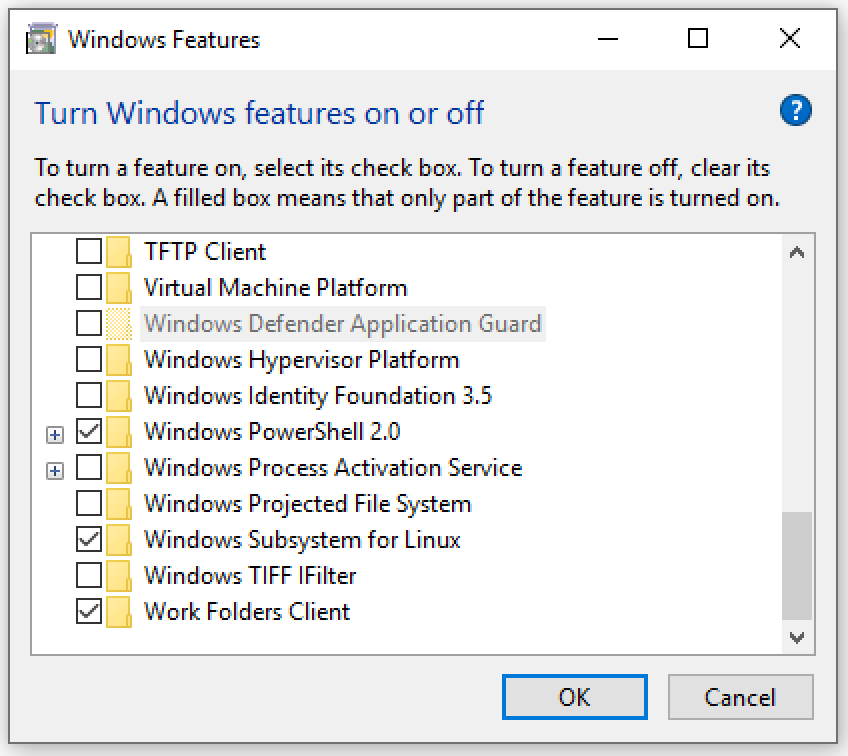
Once you have the control panel open, choose “Programs” and then “Turn Windows features on or off.” Scroll down to the bottom of the list and check the checkbox next to “Windows Subsystem for Linux,” then click “OK.” Then reboot the computer.
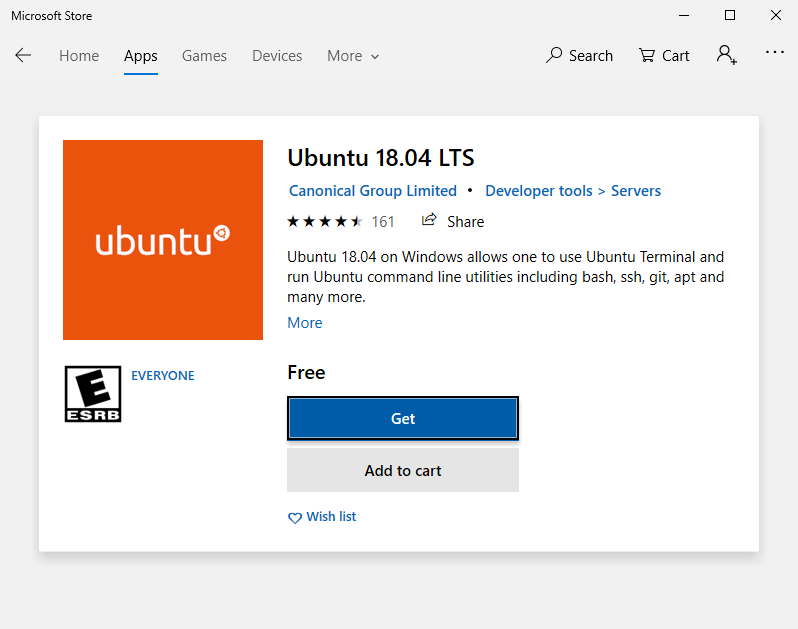
After your computer has rebooted, you can install the Linux distro of your choice from the Microsoft Store. We’re going to use Ubuntu 18.04 LTS (which stands for “long-term support”):
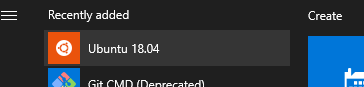
Once that’s finished installing, you can quit the store application. Your spiffy new Ubuntu command line will be available as an app from the Windows menu:
Running that opens a terminal window and kicks off the setup steps for this mini Linux install. There are only two steps: enter a username and a password. They can be the same as your Windows username and password or different. After setting that up, you should have a working Bash prompt!

If you’re not familiar with Bash, it’s the Bourne Again SHell, the most common terminal shell program in Unix/Linux. There are lots of tutorials online about how to use the Linux command line. A few commands are “ls” to list files/directories in the current directory, “cd <path>” to change to a given directory, and “pwd” to print your current directory path.
From here on, you could probably follow any tutorial on installing Ruby on Ubuntu. But I won’t leave you hanging. Read on for specific steps to Ruby joy.
The easiest way to install Ruby on Ubuntu is with a package manager. And for Ubuntu, that means “apt.” You need to be an administrator—or as it’s called in the Unix world, a “superuser”— to install packages. The way to run a command as the superuser is by putting the command “sudo” (“SUperuser DO”) before it.
Before we tackle installing Ruby though, let’s make sure our new Ubuntu install is up to date. Run the following in your Bash terminal:
sudo apt update && sudo apt dist-upgrade && sudo apt autoremove && sudo apt clean
This will fetch a bunch of packages and then ask you to make sure you want to install them. You can just hit enter to say yes. Then comes more waiting! It’s likely that you will have dozens of updates to install.
Once that’s done, you may get another question asking you if you want to remove some packages. Go ahead and hit “Enter” to say yes.
Once you have your prompt back, you’re ready to install Ruby! Do that with this simple command:
sudo apt install ruby-full
This does some dependency-checking and shows you what you need to install to get Ruby working:
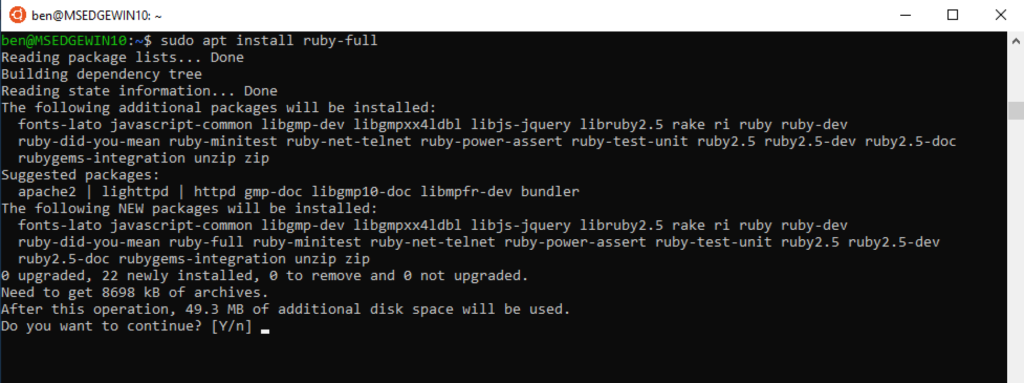
As always, hit “Enter” to accept, and away we go. There sure is a lot of waiting involved in installing software, isn’t there? But once apt has done its magic, we’ll have a working Ruby 2.5.1 install in our Linux Subsystem. As with RubyInstaller, you can verify the Ruby install by running “ruby -v”:

And you can check the RubyGems installed with “gem list”:
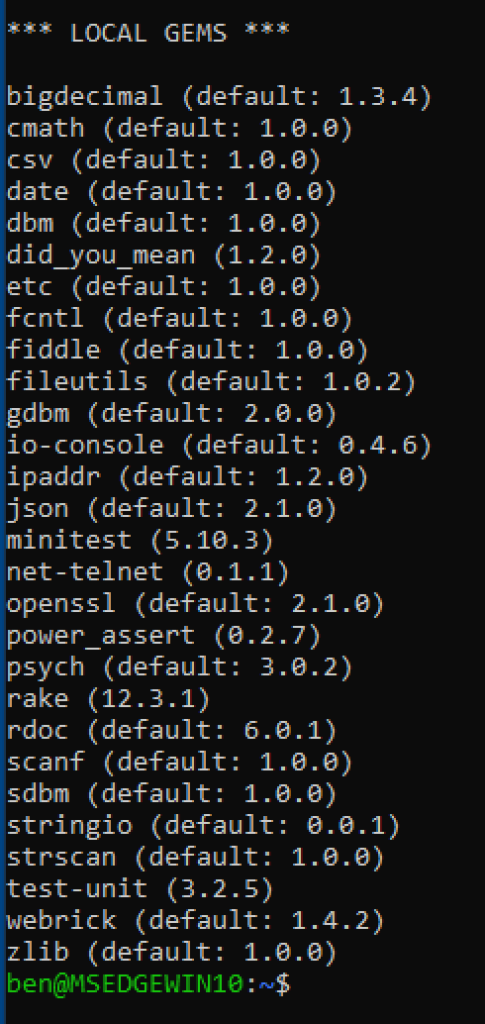
This is almost the same list as we got with RubyInstaller. And again, you can run “irb” to play around with Ruby.
Let’s go a bit further with our WSL Ruby install and see what it takes to get Ruby on Rails set up. This Ubuntu install doesn’t yet have the ability to compile gems, and Rails will need that. In particular, Rails wants to use the Nokogiri gem for parsing HTML, and that requires compiling its native extensions. The Nokogiri installation page gives us a list of apt packages to install to prepare for Nokogiri: “build-essential, patch, ruby-dev, zlib1g-dev, and liblzma-dev.”
However, we’re also going to have the same problem with needing SQLite to use the default Rails app generator. Luckily, apt has an SQLite library that fits the bill: libsqlite3-dev. Finally, Rails uses Node.js to do its JavaScript and asset packaging, so we want apt to install that as well.
Let’s add all that to the apt command Nokogiri gave us and run it:
sudo apt install build-essential patch ruby-dev zlib1g-dev liblzma-dev libsqlite3-dev nodejs
After that long list of packages is installed, you can run “gem install rails.” Windows Defender will probably make sure you’re okay with Ruby making network calls:
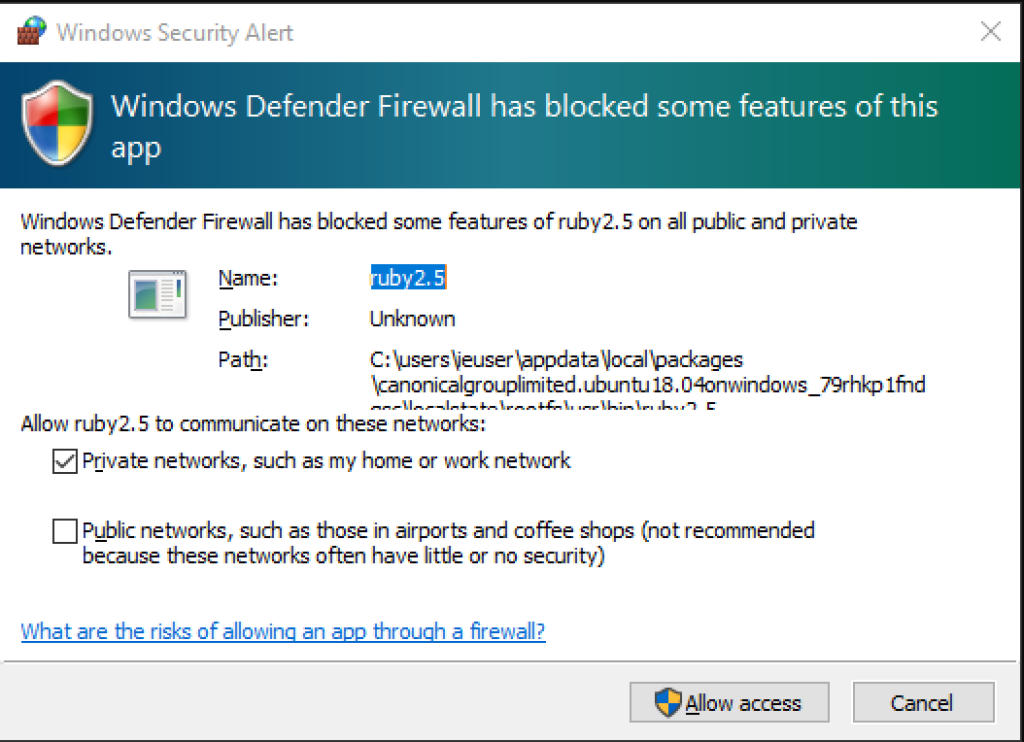
Go ahead and allow it and watch the gems fly by. Compiling Nokogiri will take a bit of time as well.
With Rails installed, you are ready to generate your first Rails app. But before we do that, you should know something about working with files in the Linux Subsystem.
Running the WSL terminal puts you in your WSL home directory. If you open an Ubuntu terminal and run “pwd,” you will see “/home/<your username>.” This is basically a make-believe directory living within the WSL application. You can create a file there and then search for it in Windows Explorer. It won’t find it.
To be able to work on your Ruby code with a Windows GUI text editor (like VSCode), you should put your code someplace Windows Explorer can find it.
Your computer’s C drive is visible in the WSL at the path “/mnt/c.” (“mnt” is a Linux convention for the location where drives are mounted and “c” refers to your C drive). So if you run “cd /mnt/c,” you’ll be at the root of the C drive. You can create a directory for your work here, either through Windows Explorer or by running “mkdir ruby_work” in the Bash terminal.
You can then generate a new Rails app with “rails new <app name>.” Rails will create a directory named with your app name and an initial project structure inside. It will also install gems just for your app.
In the early years of Rails, developers found that it was problematic working on several Ruby or Rails apps on the same machine and needing different versions of the same gems per app. Bundler came along to solve this problem. You list your app’s gems in a Gemfile and then run the command “bundle install” to install those gems just for that app.
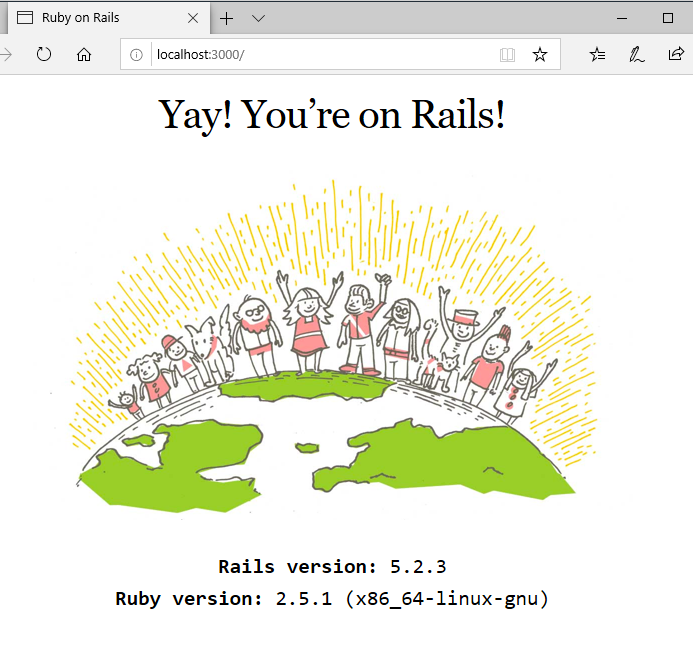
Start the development server by running “rails s” in the app directory. Then you can open a browser and go to http://localhost:3000 and see the default Rails start page!
Whichever approach you took, you should now have a functioning Ruby install on your Windows machine. Note that these aren’t the only two ways to get Ruby working on your machine. You can also use a virtual machine application like VirtualBox or VMWare to create a Linux virtual machine. This would be similar to the WSL approach, but you could install a desktop Linux distro so that you can interact with the UI. Vagrant uses VM software, but it allows you to choose from ready-to-go machine images and has a way to make the code on your Windows machine visible to the VM.
Another thing to consider as you sail away on your Ruby journey: what should you do when you wind up working on multiple Ruby projects that require different versions of Ruby? To do this, you can use a Ruby version manager like RVM or RBenv.
Finally, once you’ve built something with Ruby, you’re going to want to keep an eye on its performance, watch for errors, and debug production issues. For this, you should take a look at Retrace. It can help you keep an eye on your code from top to bottom!

Stackify's APM tools are used by thousands of .NET, Java, PHP, Node.js, Python, & Ruby developers all over the world.
Explore Retrace's product features to learn more.


