Azure Functions is a powerful function as a service (FaaS) tool in the Microsoft Azure cloud computing service. Built to create event-driven, scalable, serverless computing services and applications, Azure Functions enable developers to focus on code logic without worrying about application infrastructure. The service also simplifies scaling apps and reduces costs, users only pay for resources consumed.
However, how developers manage dependencies is a growing concern, as time goes on and applications grow more and more complex. Dependency injection in Azure Functions is a great way to optimize applications and improve the developer experience when using Azure Functions.
In this guide, we’ll cover:
Let’s get started.
Dependency injection is a software design methodology where an object supplies the dependencies of another object to help enhance the modularity, robustness, testability and maintainability of your code. This concept isn’t just specific to Azure Functions; it’s pretty popular in other languages and technologies like .Net Core.
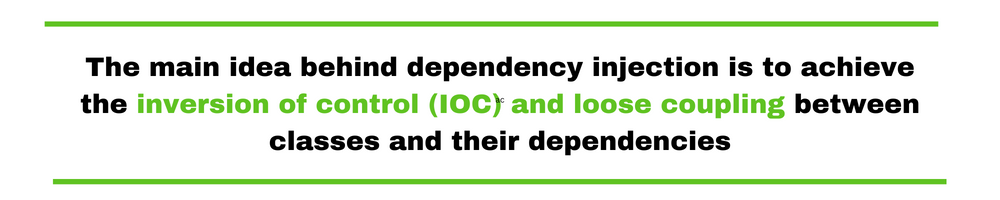
The main idea behind dependency injection is to achieve the inversion of control (IOC) and loose coupling between classes and their dependencies.
Inverting the control means that a particular portion of an application receives its benefits or control from a flow handled by another portion of the application.
Now, taking this concept to Azure Functions, dependency injection enables you to inject dependencies into your Azure Functions, thus ensuring you can write more modular code and manage dependencies much better.
Dependency injection is done by an assembler rather than by the objects themselves, so understanding dependency injection technique is critical.
Also Read-https://stackify.com/how-to-catch-all-exceptions-in-python/
For starters, dependency injection permits you to make your systems loosely coupled. Dependency injection decouples the implementations of classes from the implementations of other classes’ dependencies.
This process becomes possible by separating the usage of your class from the creation of one. This separation further improves reusability and limits how your lower-level classes are impacted.
Other advantages of dependency injection are:
Implementing this principle in Azure Functions ensures a structured approach to managing dependencies and a robust application. You can learn more about dependency injection with code examples and how it relates to SOLID principles in Stackify’s recent tutorial.
To maximize the benefits of the tutorials in this guide, you’ll need the following:
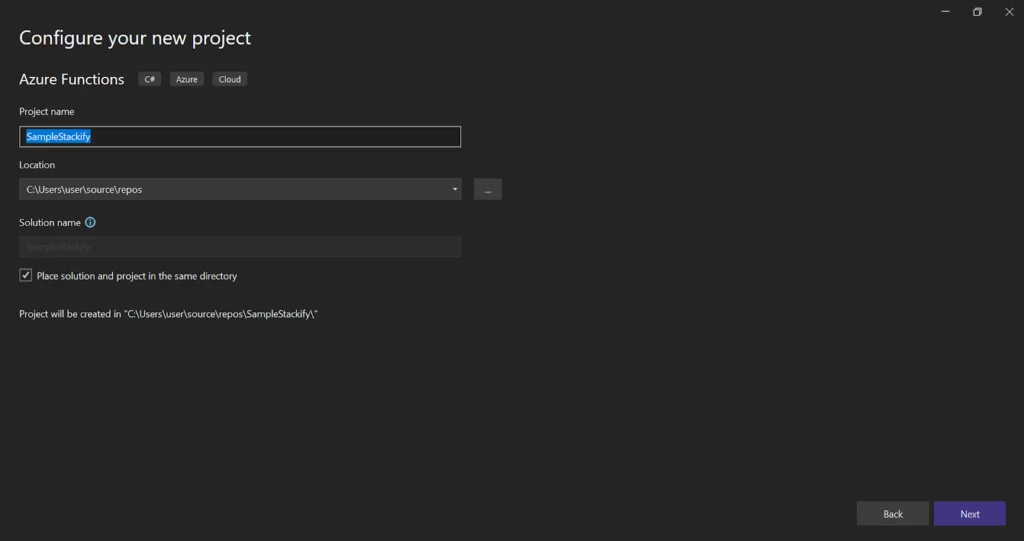
Let’s start by creating an Azure Functions app in Visual Studio. Azure Functions applications are event-driven, serverless computing platforms.
To do this:
5. Select Http trigger. Azure Functions supports many trigger points, such as HTTP and queue triggers
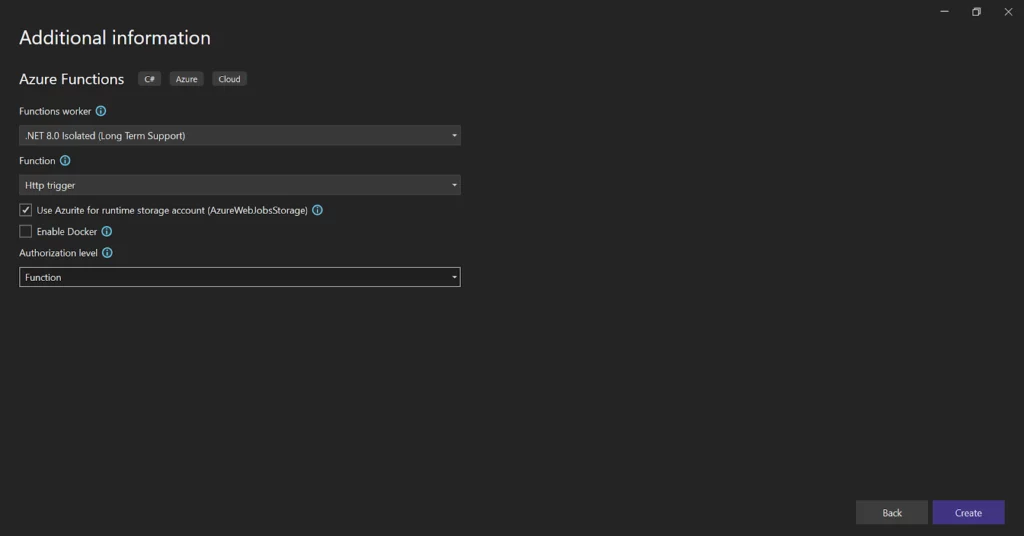
6. Then, click Create to create the Function
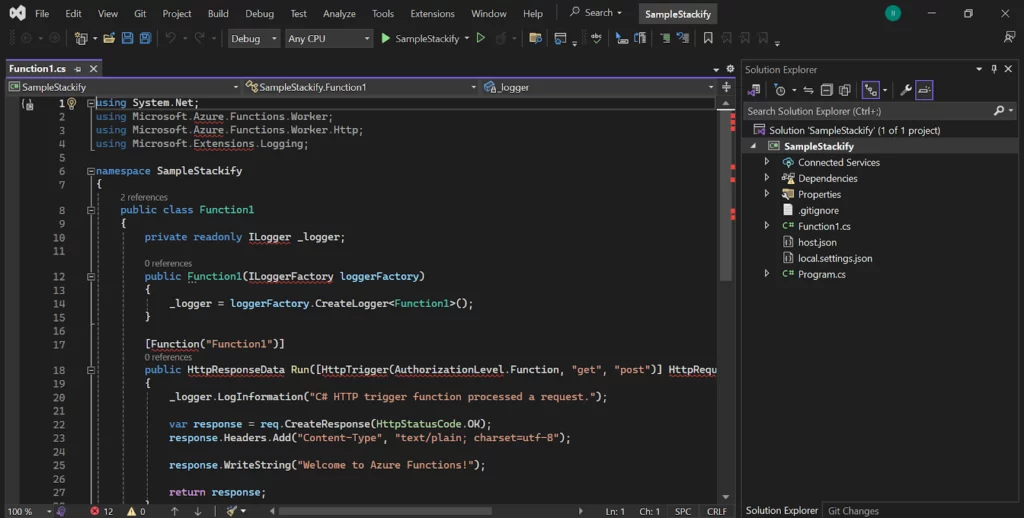
These steps will automatically create our first Azure Function. You can open the “Function1.cs” file to see the generated function.
Next, we must add interfaces and classes for the dependency injection.
We must create the service or some classes we want to inject into our Azure Function.
However, before creating the class, we need to create an interface and the class that implements this interface.
To achieve this:
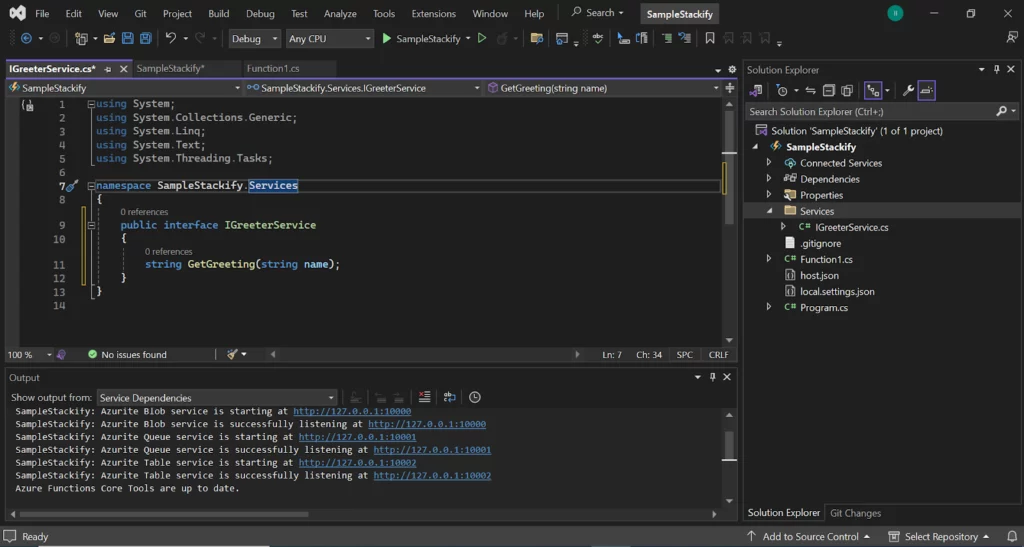
Next, edit the definition of IGreeterService using the syntax below.
public interface IGreeterService

{
    string GetGreeting(string name);
}
The file should look like this:
using System;
using System.Collections.Generic;
using System.Linq;
using System.Text;
using System.Threading.Tasks;

namespace SampleStackify.Services
{

    public interface IGreeterService

    {
        string GetGreeting(string name);
    }
}
Then, we must create a new class, “GreeterService,” to heredit our “iGreeterService” interface.
To create this class:
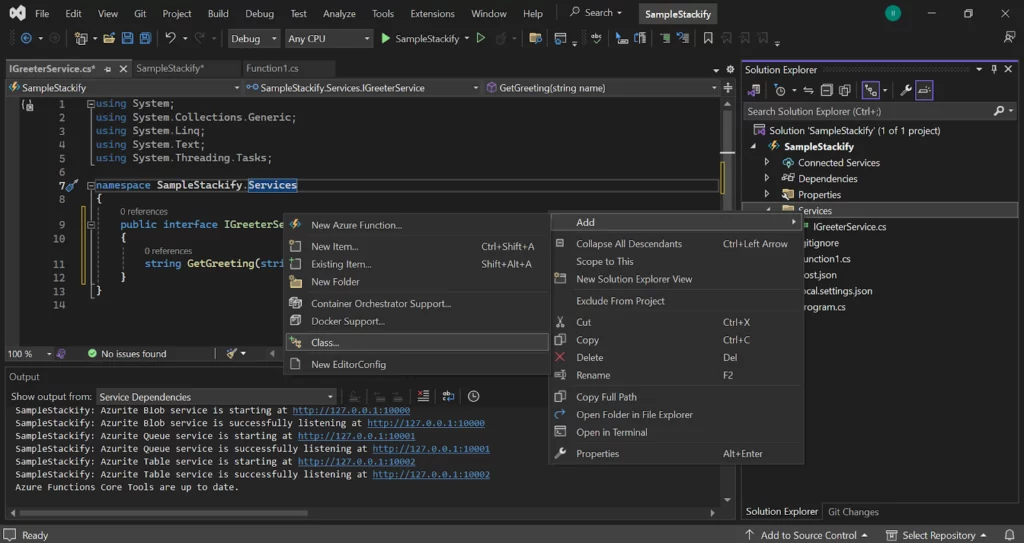
Then, edit the template generated using the syntax below:
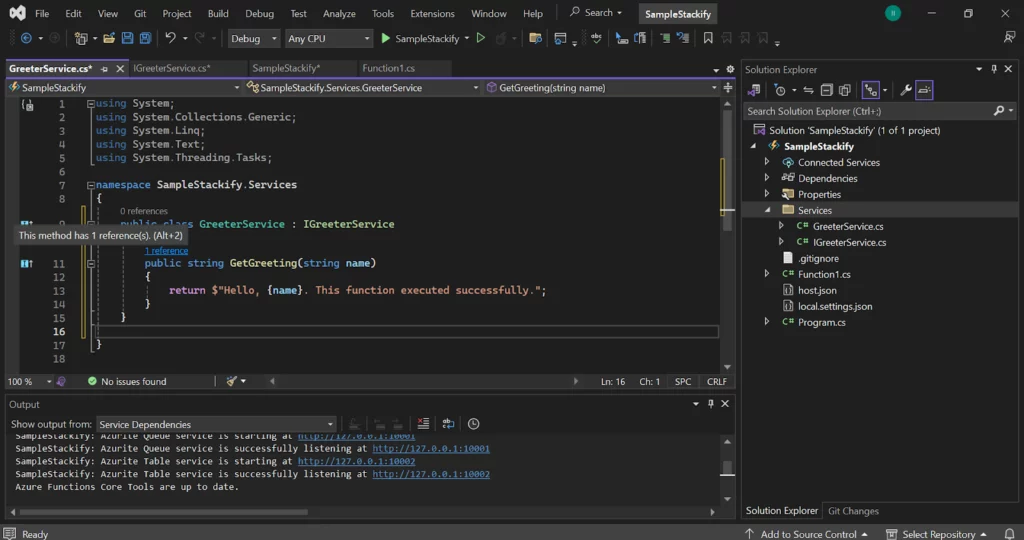
public class GreeterService : IGreeterService
{
    public string GetGreeting(string name)
    {
        return $"Hello, {name}. This function executed successfully.";
    }
}
This GreeterService.cs file will look like this:
using System;
using System.Collections.Generic;
using System.Linq;
using System.Text;
using System.Threading.Tasks;

namespace SampleStackify.Services
{
    public class GreeterService : IGreeterService
    {
        public string GetGreeting(string name)

        {
            return $"Hello, {name}. This function executed successfully.";
        }

    }
}
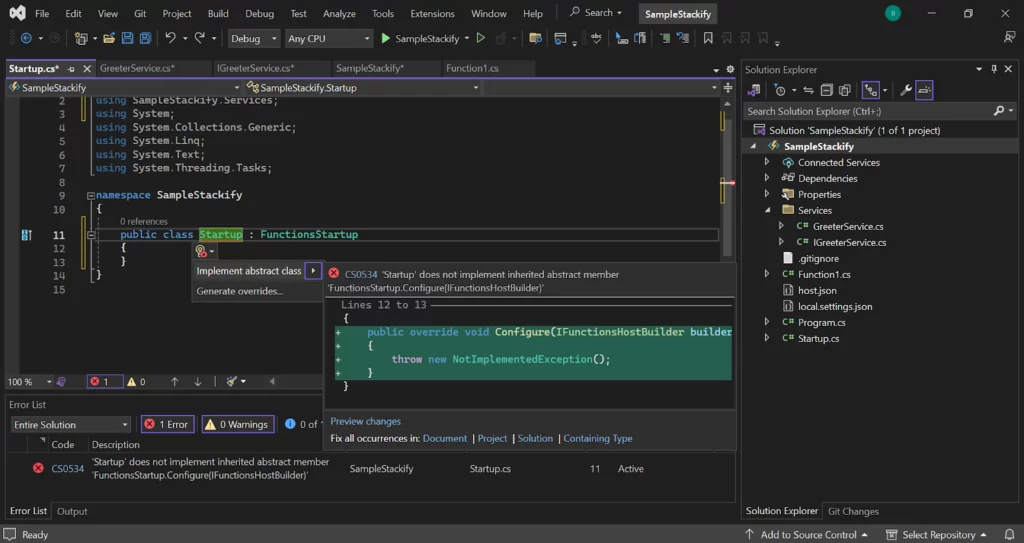
We’ll need to create another class named “Startup” to handle all the dependencies we want to achieve.
You should right-click on your app name, “SampleStackify,” and select Class. Next, name this class “Startup.”
Before creating our startup class, we must add the Microsoft.azure.functions.extension and Microsoft.extensions.http Nuget packages.
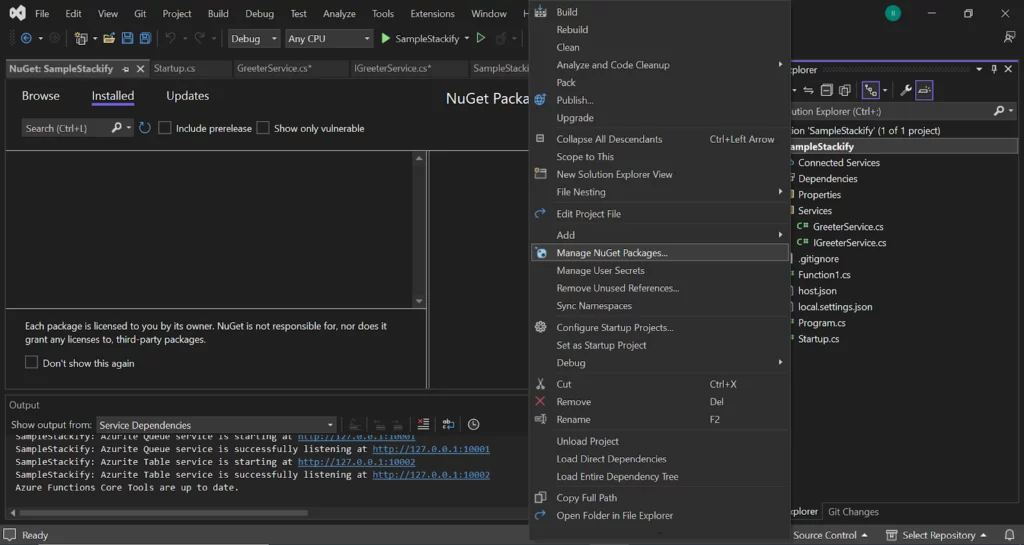
You can accomplish this by right-clicking and selecting Manage Nuget packages.
Then, navigate to the browse menu and search for Microsoft.azure.functions.extension.
Click on install.
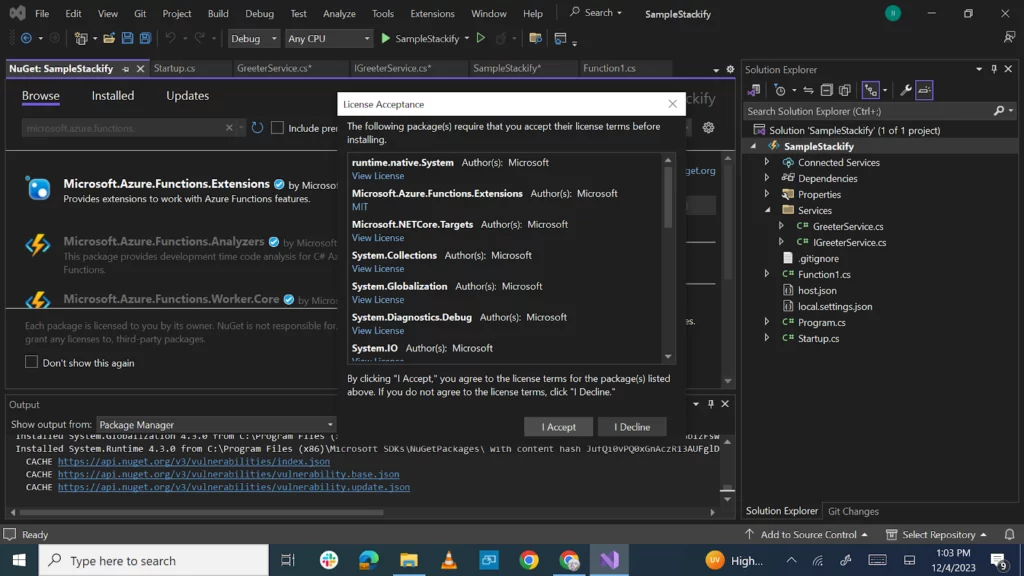
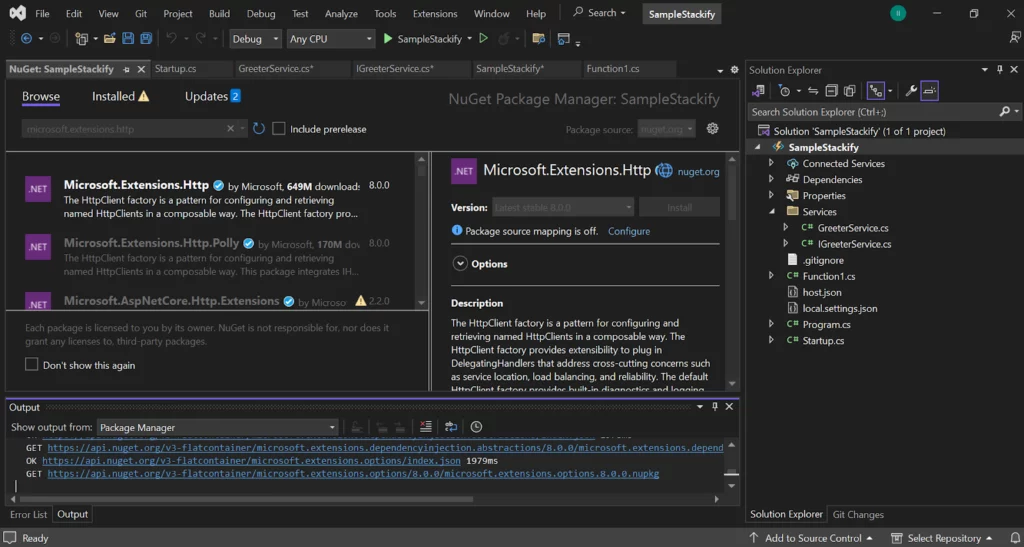
Similarly, search for Microsoft.extensions.http and click on Install. You’ll need to accept the license agreement.
Once done, return to the “Startup” class and write the code below. Doing this will register the service we want to inject and provides the mapping of the interface to the class.
The syntax for our Startup.cs file will look like this:
using Microsoft.Azure.Functions.Extensions.DependencyInjection;
using Microsoft.Extensions.DependencyInjection;
using SampleStackify.Services;
using System;
using System.Collections.Generic;
using System.Linq;
using System.Text;
using System.Threading.Tasks;

namespace SampleStackify

{
    public class Startup : FunctionsStartup
    {
        public override void Configure(IFunctionsHostBuilder builder)
        {
            builder.Services.AddScoped<IGreeterService, GreeterService>();
        }
    }
}
We need to add the code below into Function1.cs to inject dependency. First, we need to declare the two variables to handle our client.
private readonly ILogger<Function1> _logger;
private readonly IGreeterService _greeterService;
The final Function1.cs will look like this:
using Microsoft.Azure.Functions.Worker;
using Microsoft.Azure.Functions.Worker.Http;
using Microsoft.Extensions.Logging;
using Newtonsoft.Json;
using SampleStackify.Services;
using System.Net;
using System.Net.Http;
using System.Threading.Tasks;

namespace SampleStackify
{
    public class Function1
    {
        private readonly ILogger<Function1> _logger;
        private readonly IGreeterService _greeterService;

        public Function1(ILogger<Function1> logger, IGreeterService greeterService)

        {
            _logger = logger;

            _greeterService = greeterService;
        }

        [Function("Function1")]

        public async Task<HttpResponseData> Run(

            [HttpTrigger(AuthorizationLevel.Function, "get", "post")] HttpRequestData req,

            FunctionContext context)

        {

            _logger.LogInformation("C# HTTP trigger function processed a request.");

            var response = req.CreateResponse(HttpStatusCode.OK);

            response.Headers.Add("Content-Type", "text/plain; charset=utf-8");

            var name = req.Query["name"];

            var requestBody = await req.ReadAsStringAsync();

            dynamic data = JsonConvert.DeserializeObject(requestBody);

            name = name ?? data?.name;


            string responseMessage = string.IsNullOrEmpty(name)

                ? "Welcome to Azure Functions!"

                : _greeterService.GetGreeting(name);

            response.WriteString(responseMessage);

            return response;
        }
    }
}
We can now run our app to start the Azure Function.
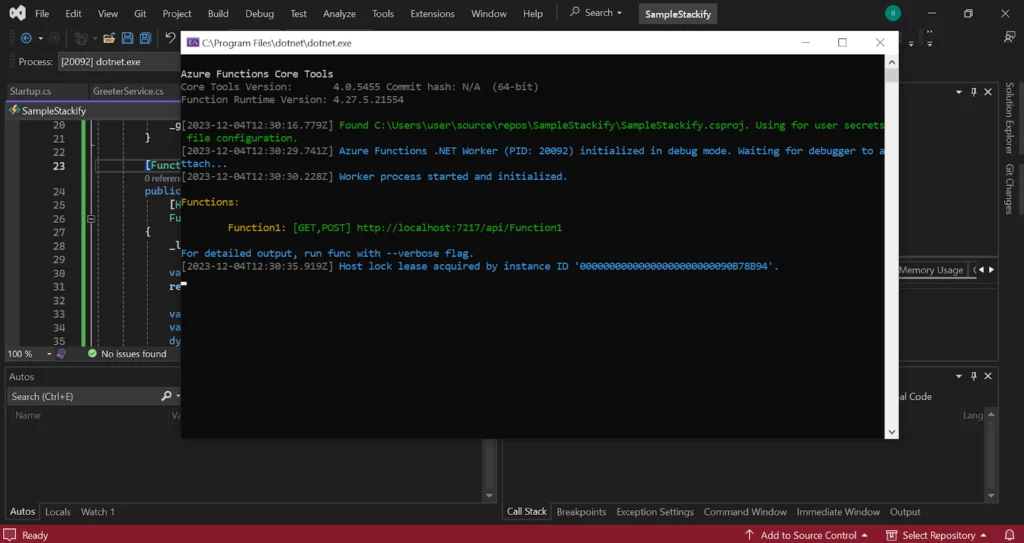
That’s it. We’ve now injected dependency into our Azure Function app.
One common challenge is the misconfiguration of service. This can be remediated by ensuring the FunctionsStartup class is correctly and accurately configured with the necessary service registrations. You should also ensure that your dependencies have the appropriate constructors, as mismatches can lead to runtime errors.
Another challenge is the incorrect scoping of dependencies and resolving circular dependencies. These issues can also be avoided by making sure you use and verify the lifetime (transient, scoped or singleton) that aligns with Function requirements and analyzing the relationships between injected services.
You can also troubleshoot these issues by checking the Azure Functions logs for diagnostic insights and any initialization errors or failures in service resolution.
Let’s explore best practices to should follow when using dependency injection in Azure Functions.
1. Unit testing helps in the early detection of issues, especially when we make changes or design our Functions. By creating more unit-testable Functions, we can ensure that the individual aspect of our code works as expected without testing the entire script.
In Azure Functions, unit testing comes in handy because we often have small, independent units of code.
var response1 = await function.Run(request1, context);

Assert.AreEqual(HttpStatusCode.OK, response1.StatusCode);

Assert.IsTrue(response1.Headers.TryGetValue("Content-Type", out var contentType1));

Assert.AreEqual("text/plain; charset=utf-8", contentType1);

var responseBody1 = await response1.ReadAsStringAsync();

Assert.AreEqual("Welcome to Azure Functions!", responseBody1);
The script above is an example of a unit test that verifies our Azure Function (Function1) is executed with a specific request (request1). The test also checks that our Function’s response has the expected HTTP status code, content type and response body content.
2. Log when possible! Logging can track the process right from the initialization of dependencies. These logs provide insights that can be used for troubleshooting and monitoring. For example, if a service injected fails to initialize or execute, logs can reveal the specific point of failure, identify bottlenecks and make diagnosing and fixing problems easier.
3. Leveraging the FunctionsStartup class in Azure Functions helps organize our service configuration for dependency injection. One of the best ways to do this is by registering your services using the IFunctionsHostBuilder provided by the Azure Functions runtime inside the Configure method of the FunctionsStartup class. Here, you can define the dependencies to avoid scattering them throughout different parts of your application.
To establish more readability, you should also apply the assembly.
4. FunctionsStartup(typeof(MyNamespace.Startup)) attribute at the assembly level to specify the type of your FunctionsStartup class. This attribute will inform your Azure Functions runtime about the custom startup class to use when configuring the function app, thus acting as a line between your startup logic and the Azure Functions runtime.

Azure Functions lets you build serverless, compute-on-demand, lightweight applications. By weaving together the functionalities of Azure Functions and your technical understanding of dependency injections, developers can create more efficient and robust applications.
Of course, we’ve just scratched the surface of what can be done with dependency injection in Azure Functions. As you build, you should monitor your applications and Azure Functions with solutions like Retrace. A comprehensive, developer-friendly APM solution, Retrace monitors the performance of your virtual machines, Azure Stack and deployments.
You can give Retrace a go by starting with a free trial today!
Also Read-https://stackify.com/rack-mini-profiler-a-complete-guide-on-rails-performance/
This post was written by Ifeanyi Benedict Iheagwara. Ifeanyi is a data analyst and Power Platform developer who is passionate about technical writing, contributing to open source organizations, and building communities. Ifeanyi writes about machine learning, data science, and DevOps, and enjoys contributing to open-source projects and the global ecosystem in any capacity.
Stackify's APM tools are used by thousands of .NET, Java, PHP, Node.js, Python, & Ruby developers all over the world.
Explore Retrace's product features to learn more.


