
Every time we need to deploy to production, we worry about how changes will affect the user experience. No matter what technique or strategy you use to make deployments, there are going to be times when the things that can go wrong will go wrong. It’s Murphy’s law. The fact of the matter is you can’t always prevent errors when deploying changes. But what you can do is prevent downtime after a deployment from becoming the norm. One way you can minimize downtime is by implementing canary deployments.
It doesn’t matter what type of application you have—canary deployments can be applied whether it’s a website, desktop, or mobile app. They also work with on-premises, cloud, or hybrid infrastructures. Containers? You bet. In this post, I’ll be demonstrating how to do canary deployments using Docker and Kubernetes as a hands-on example.
Let’s start with the origin of the name canary deployment, which comes from an old British mining practice. It’s a little bit cruel. According to Kat Eschner at The Smithsonian, this practice consisted of using “canaries in coal mines to detect carbon monoxide and other toxic gases before they hurt humans.” To make sure mines were safe for them to enter, miners would send canaries in first; if something bad happened to the canary, it was a warning for the miners to abandon the mine.
So how is this comparable to software development and deployments?
Well, when you want to release a new version of an application, you’ll use a canary to make sure the new changes can survive for a broader public. It’s just a matter of defining who the proverbial canary will be. For simplicity, some organizations decide that the canary will be five percent of the traffic. So if something goes wrong with the new changes, only five percent of users will be affected. You can also use more canaries of different colors and sizes in order to increase your confidence in the new changes.
After you feel confident that the new changes are good to go, you roll out the changes to the rest of users. You can now get rid of the canary since it was only used to make sure the miners (your broader audience) wouldn’t be negatively affected by the new changes.
As I said before, if you want to do canary deployments, the type of application or infrastructure you’re working on isn’t too important—canary deployments are pretty versatile. Let me give you some specific examples of how to do canary deployments on different infrastructures using only one canary.
If you want to do canary deployments with load balancers, you’ll start by having two of them. Load balancer A will receive 95 percent of the traffic, and load balancer B will get the remaining five percent. We’ll use load balancer B for canary deployments, which means we’ll update the servers behind it first. It doesn’t really matter how many servers are behind each load balancer—the important thing is that traffic is split between the load balancers, not the servers.
(Note that you can do canary deployments without load balancers, but it’s easier with them because you can take the server you’re updating out of the rotation.)
When you’re done updating the servers, you monitor and test for a while. If you don’t like the results in load balancer B, you can roll back and finish the release. But if the new changes are good to go, you can proceed to update the servers that are behind load balancer A.
If you want to do canary deployments with AWS, you’ll use their service called Route 53, which lets you use weighted records to split the traffic 95/5, like we did before. Or you can use auto-scaling groups, if you don’t want to mess with DNS TTLs.
But if you don’t care that much about having a strict split like that, you can get the same results using Auto Scaling groups (ASG). The magic of ASG is that, even if you have more than one ASG, you only need one Elastic Load Balancer (ELB) because you’ll be attaching all the ASGs to the same ELB. This balances the load between ASGs. So let’s say that one ASG has nine instances (three for each availability zone). A second ASG has only one instance. This gives you a total of ten instances. Then, if we use the second ASG as a canary, you’ll have 1/10 instances for that purpose.
To do canary deployments with ASGs, you apply the same technique as with load balancers but modify it slightly. You update the ASG with the new Amazon Machine Image (AMI)—which has the new changes—and replace the current instance with the new one. You don’t have to worry about downtime because you can launch the new instance first. Once it’s registered in the load balancer, you can drain connections with the old instance and terminate it.
With this technique, rollback is as easy as updating the ASG with the previous AMI and then rotating instances. If you decide to continue with the deployment as is, you just do the same procedure with the other ASG that has nine instances.
Now with Kubernetes, the approach to doing canary deployments is similar to the one used in AWS, but we use different terminology.
You have a service that could act as a load balancer for pods that are “registered” to the service. You also have “deployments,” which act like ASGs. So in theory, you apply the same techniques. But instead of just explaining it like I did above, let’s learn by practicing.
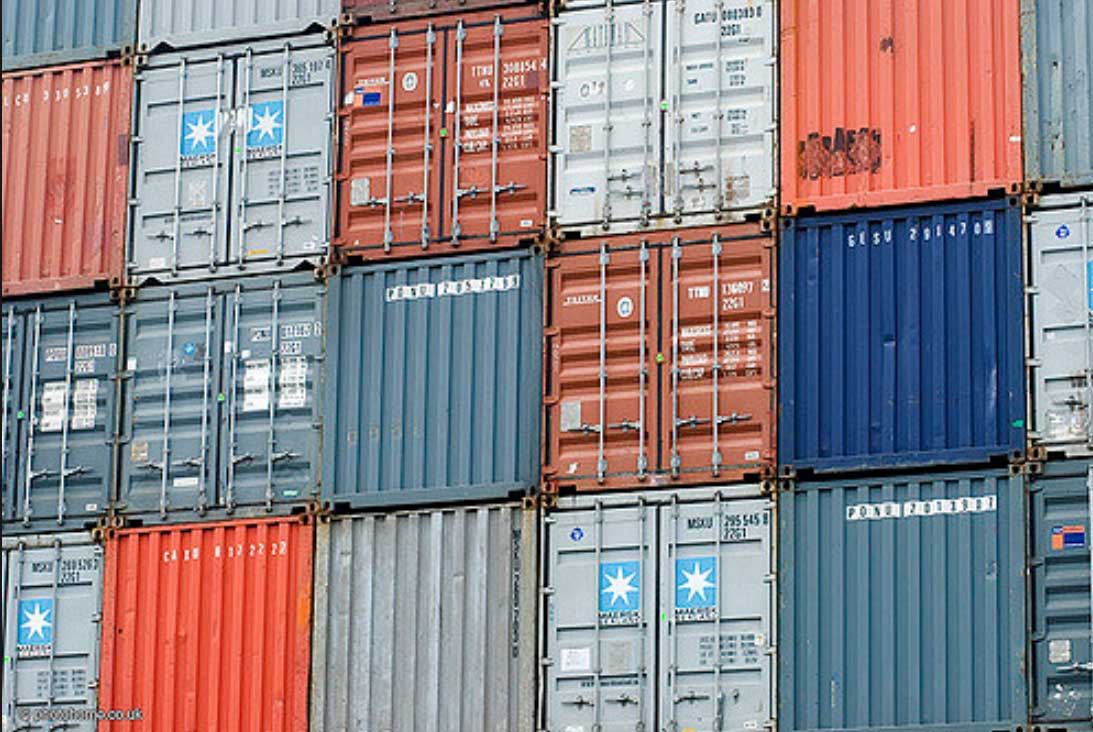
Now, let’s talk about how to do canary deployments with containers and Docker.
Containers are what you use to pack the application code and its dependencies so that you can move your application without too much hassle.
Docker is the company that made containers popular. When someone talks about containers, there’s a good chance they’re referring to the containerized technology that Docker created. Containers are pretty easy to use; all you need to have is a file called Dockerfile, where you define how you build the app and what dependencies it needs. This file is used to create what is called a Docker image, which is later used to instantiate a container.
Since all you need to do to use Docker containers is have the Docker daemon installed, you can move the application through all the environments without fear. Everything that’s needed for your app to run is right there in the container image that you built.
Now that we’ve covered how to do canary deployments on different infrastructures, let’s talk about the Kubernetes theory you’ll need to know in order to do a canary deployment.
Deployments are the desired state definitions for pods and replica sets. A pod is a group of one or more containers that you run together. Think of a pod like a virtual machine where you “install” and “configure” the application and its dependencies—we both know it’s not actually a virtual machine, but bear with me. A replica set is used to define the number of pods that are running. If for some reason a pod is stopped or destroyed, Kubernetes will create a new one to maintain the desired state.
Deployments then define which container images and versions will run in pods, how many of them will run, what strategy will be used to update pods, and what metadata can be used to interact with other resources.
You can think of services as load balancers for pods. Let me explain: each pod has its own IP address, but if the pod is recreated or there’s more than one, consumers of those pods will need to keep track of those IP addresses. Instead of doing this manually, you could use a service. Services also provide an IP address that consumers can use, but the real benefit is that the service will balance the requests among the pods that are under it.
There are other use cases for services, but for this time, let’s leave it at that since we’ll be using services in our practice example.
Finally, labels and selectors are the metadata that other resources need in order to interact with each other. Labels are key/value pairs that you can define as you want—they’re used to identify objects. Because you can define as many labels as you need, some objects won’t need to have the same labels. So a label selector is needed to select objects using one or more labels.
Labels and selectors are how everything we’ve just discussed is connected. When you define the pods in a deployment, you describe a set of labels that a service will use to balance the load. This is how pods are “registered” into a service.

Enough theory; let’s get started. Let’s mimic what a developer’s day-to-day work will look like when using Docker and Kubernetes.
Before we start, you need to have the following installed on your computer:
Once you have Docker, Kubernetes, and kubectl in your local environment, you’re ready to get started.
You need an application to deploy in Kubernetes. In my case, I’ll use a .NET Core API template, but you can use an existing application.
If you want to use mine, the code is on GitHub. You simply need to clone it in the root folder of the repository and run a few commands to create the initial Docker image version. Replace my username “christianhxc” with your username.
Run the following command to create the Docker image version 1.0:
docker build -f HelloWorld/Dockerfile -t christianhxc/helloworld:1.0 .
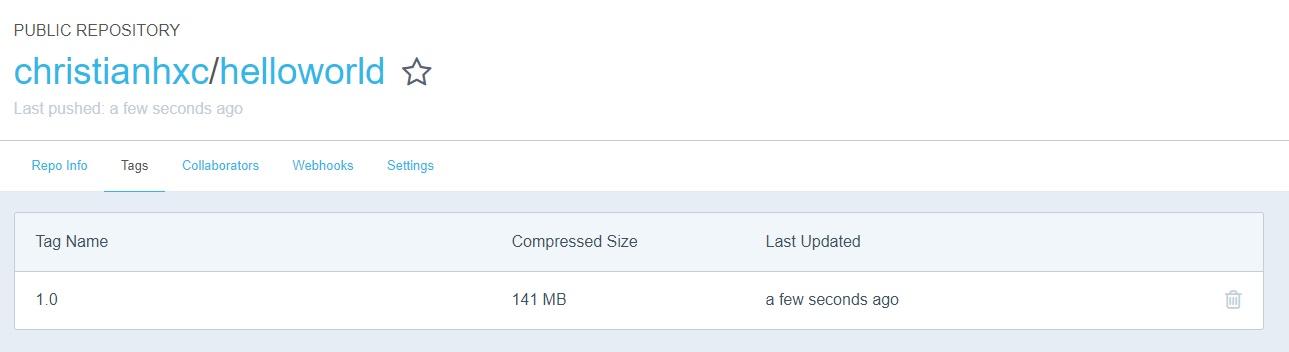
Next, run the following command to push the Docker image version 1.0 (this is optional since our case is running locally):
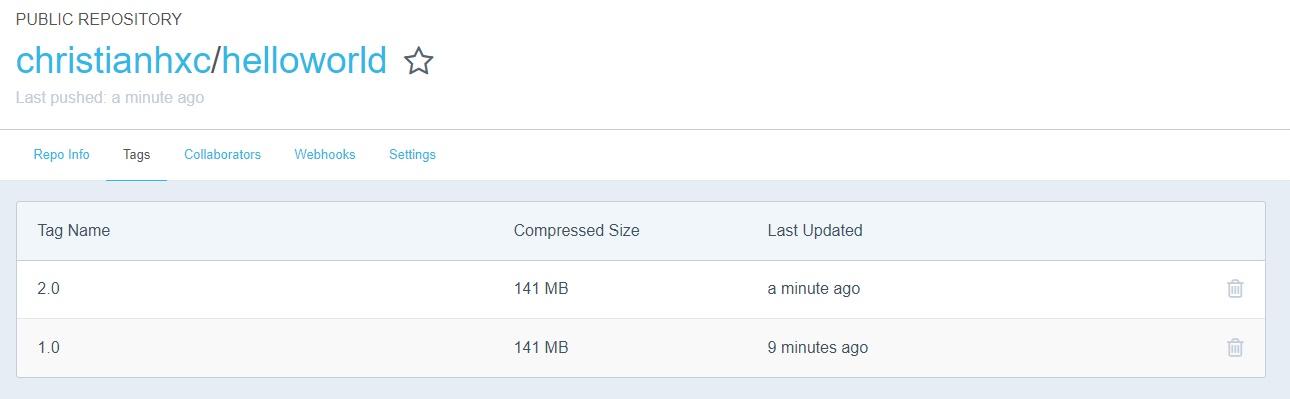
docker push christianhxc/helloworld:1.0
You’ll see that the image is now visible in the Docker Hub:
Now that we have an initial version of the application, we can deploy it to Kubernetes.
Let’s start by creating the service definition file k8s-service.yaml. It should look like this:
apiVersion: v1
kind: Service
metadata:
  name: helloworld
spec:
  type: LoadBalancer
  ports:
  - port: 80
  selector:
    app: helloworld
As you can see in line 8, this service will run in port 80. Note how the service is going to select pods in lines 9–10. It will use the label “app: helloworld” as the selector. The pods that have that label will be included in the service.
Now run the following command to create the service. If the service already exists, it will be updated:
kubectl apply -f k8s-service.yaml
Now it’s time to create the deployment. Let’s create the deployment definition file k8s-deployment.yaml, which should look like this:
apiVersion: apps/v1beta1
kind: Deployment
metadata:
  name: helloworld
spec:
  replicas: 2
  strategy:
    rollingUpdate:
    maxSurge: 1
    maxUnavailable: 1
  minReadySeconds: 5
  template:
    metadata:
      labels:
        app: helloworld
        track: stable
    spec:
      containers:
      - name: helloworld
        image: christianhxc/helloworld:1.0
        ports:
        - containerPort: 80
        resources:
          requests:
            cpu: 50m
          limits:
            cpu: 100m
In this deployment definition file, you see that in lines 15–16 there are two labels: app and track. This is where the magic happens. Pods in this deployment will have the “app:helloworld” label that the service is looking for. The service will balance the load to the two pods (line 6) created by this deployment.
Let’s create the deployment in Kubernetes by running the following command:
kubectl apply -f k8s-deployment.yaml
You can check that pods are running with the following command:
kubectl get pods
Run this command to get the “EXTERNAL-IP” address of the service:
kubectl get service
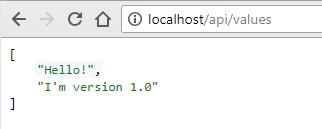
This is where you will get a static IP address if you’re running on the cloud, but in this case, we’re running a local Kubernetes so the “EXTERNAL-IP” is localhost.
Go to http://localhost/api/values and you should see API Version 1.0 running:
If you decided to use my application, go to the HelloWorld/Controllers/ValuesController.cs file and change the version in the first method so it looks like this:
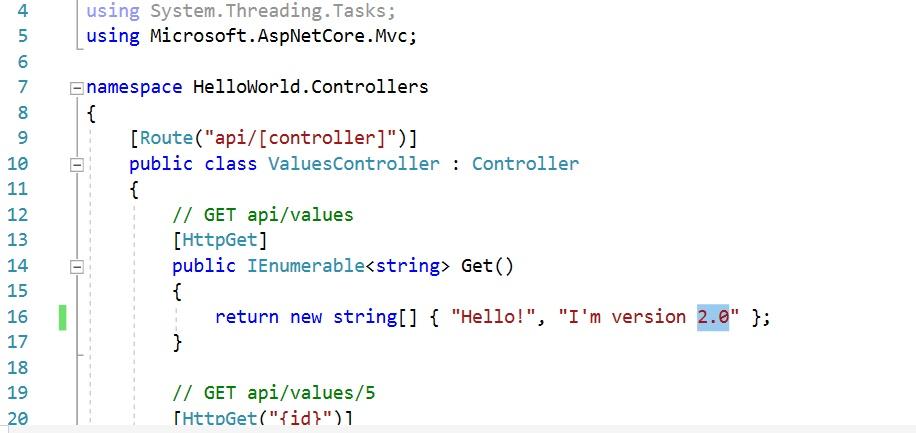
Run the following command to create the Docker image version 2.0:
docker build -f HelloWorld/Dockerfile -t christianhxc/helloworld:2.0 .
Then, run the following command to push the Docker image version 2.0 (again, this is optional as our case is running locally):
docker push christianhxc/helloworld:2.0
Version 2.0 is ready, but we want to deploy it safely.
Let’s create the canary deployment file definition k8s-deployment-canary.yaml. It should look like this:
apiVersion: apps/v1beta1
kind: Deployment
metadata:
  name: helloworld-canary
spec:
  replicas: 1
  strategy:
    rollingUpdate:
      maxSurge: 1
      maxUnavailable: 1
  minReadySeconds: 5
  template:
    metadata:
      labels:
        app: helloworld
        track: canary
    spec:
      containers:
      - name: helloworld
        image: christianhxc/helloworld:2.0
        ports:
        - containerPort: 80
        resources:
          requests:
            cpu: 50m
          limits:
            cpu: 100m
In line 6, you can see that this deployment file is saying that it will create only one pod. As we saw in the “stable” deployment file, you now have two pods running. That means that the canary version will now receive 33 percent (1/3) of all traffic. In line 20, the new Docker version 2.0 is defined, so the new pod will run the version we just created.
It’s time to monitor the new version for a while. You need to have some visibility about performance.
If there are no errors, you’re ready to deploy (see step 6). But if something goes wrong (Murphy’s Law, people), jump ahead to step 7. Even if there were some errors, you don’t need to worry because only 33 percent of the users will be affected by the errors. (If you want to have a lower percentage, you need to add more pods to the stable version. For example, if the stable version created nine pods and the canary version created one, only 10% of the users would be affected.)
Congratulations! If you’re here, it’s because you decided it’s time to deploy the new version. Now you can get rid of the canary and deploy to your entire audience.
Let’s update the k8s-deployment.yaml file in line 20 to use the Docker image version 2.0, which should look like this:
...
image: christianhxc/helloworld:2.0
...
Run the following command to apply the update:
kubectl apply -f k8s-deployment.yaml
Verify that everything is still running well. You should see the version 2.0 running for all pods.

If you’re here, it’s because something went wrong. You need to roll back, or maybe you just need to clean up. Remember, we’re only using the canary deployment to reduce the impact on our users.
Run the following command to delete the canary deployment:
kubectl delete -f k8s-deployment-canary.yaml
And that’s it. Every time you have a change that you want to deploy, you need to create a new Docker image version.
Go back to step 3 and make the changes you need, then deploy. Steps 4-7 don’t need to change. A nice thing here is that we’re running everything locally, so you can practice deployments before going to the production environment. You can automate which Docker image version gets deployed. Or you can pass it on as a parameter so that you just replace the new version with a placeholder in the deployment file.
Canary deployments can be done in different ways with different platforms. But to me, the Docker and Kubernetes way feels more native. And as you saw, it’s not as difficult as you might think. Following these simple and sequential steps will help make your deployments more predictable. Of course, there’s no way to predict application errors, but that’s why you also need to have information about how the application is performing.
You’re not just going to deploy more rapidly as you automate these steps—you’re also going to deploy with more confidence. You’ll always have a chance to test the new version with a small fraction of the users. And if something goes wrong, you can easily roll back. If nothing goes wrong, you can proceed with the full rollout. Then you just shut down the canary version and repeat.
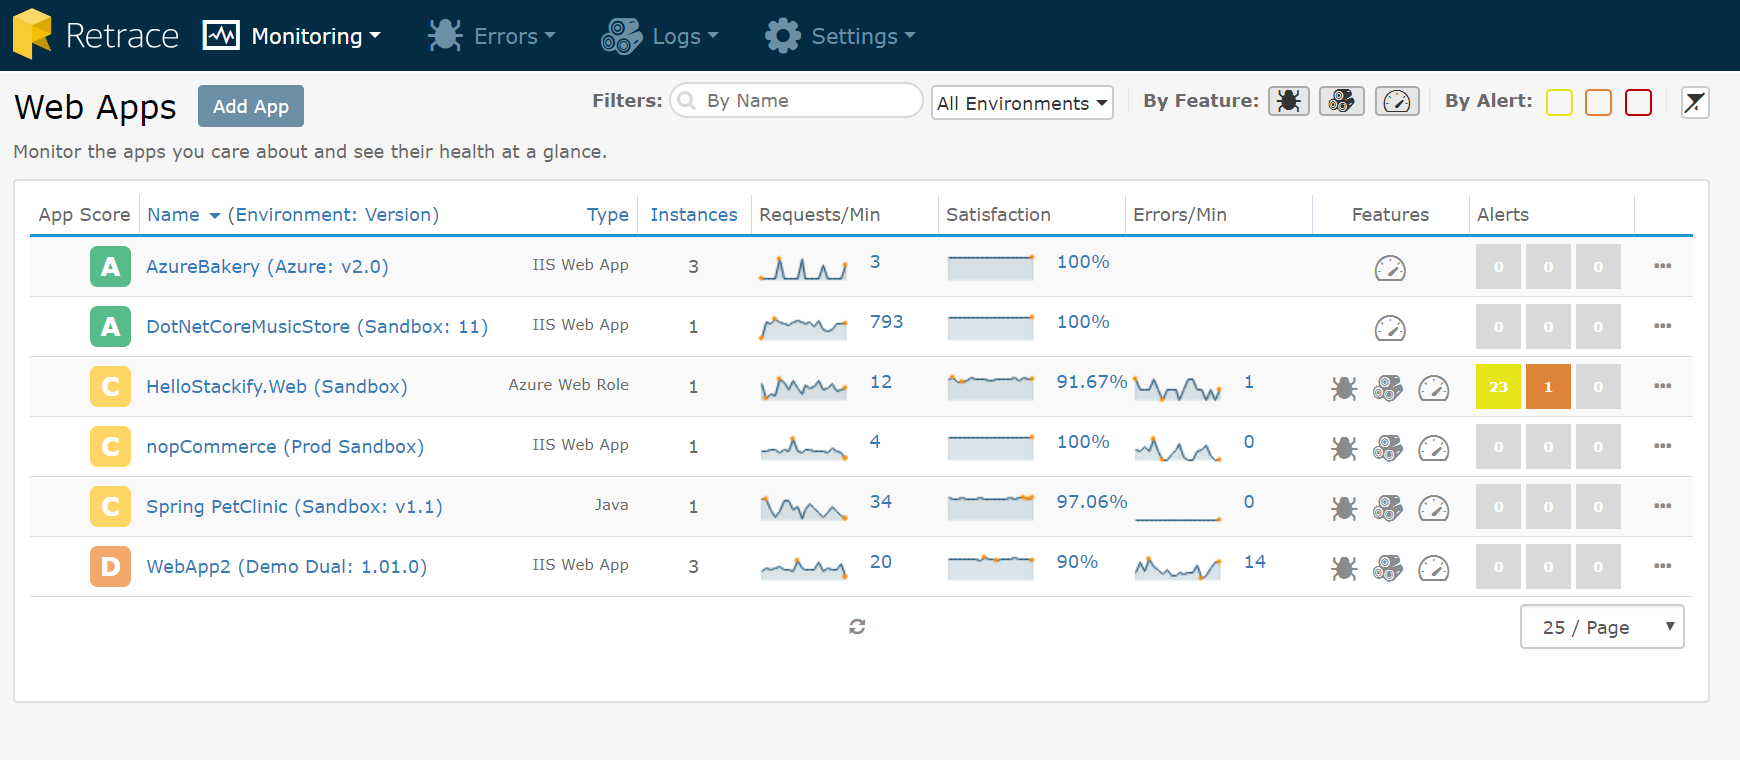
With APM, server health metrics, and error log integration, improve your application performance with Stackify Retrace. Try your free two week trial today
Stackify's APM tools are used by thousands of .NET, Java, PHP, Node.js, Python, & Ruby developers all over the world.
Explore Retrace's product features to learn more.


